First revealed in Christopher Nolan’s iconic The Dark Knight trilogy, making its debut in Batman Begins no less, the Batmobile ‘Tumbler’ holds military-level stealth tech as its inspiration, can break through concrete walls, has bullet-proof bodywork and is one of the finest additions to Bruce Wayne’s Batcave or hidden dockside underground workshop… and now, I get to build a 1:8 scale model!

After kicking off with Issues 1 to 28 (head here for those blogs), we pick up the pace with 6 issues in one hit from the Hachette Partworks release, and you can also build your own detailed replica by getting involved and clicking here.
Build your own Batmobile Tumbler will take you through the assembly, alongside sticking and screwing together die-cast parts, plus plastic-moulded ones for the smaller details, and it’ll be a beast when you realise how many features are covered, and you’ll see my progression in these posts.
These are early days of a long-term project, so I hope my build blog might help you along the way, and also feel free to ask questions in the comments below!
Issues 29 and 30
From the magazines celebrating the all-time Batmobile of the 1950s, to the comic book introduction of the indelible partnership of Neal Adams and Denny O’Neil – which took Bats into the 1970s with an essential shift in the story of the Dark Knight with some classic tales which stand the test of time, and rightly celebrated here, these next 11 issues get things moving – along with a whole host of Batmobile history.
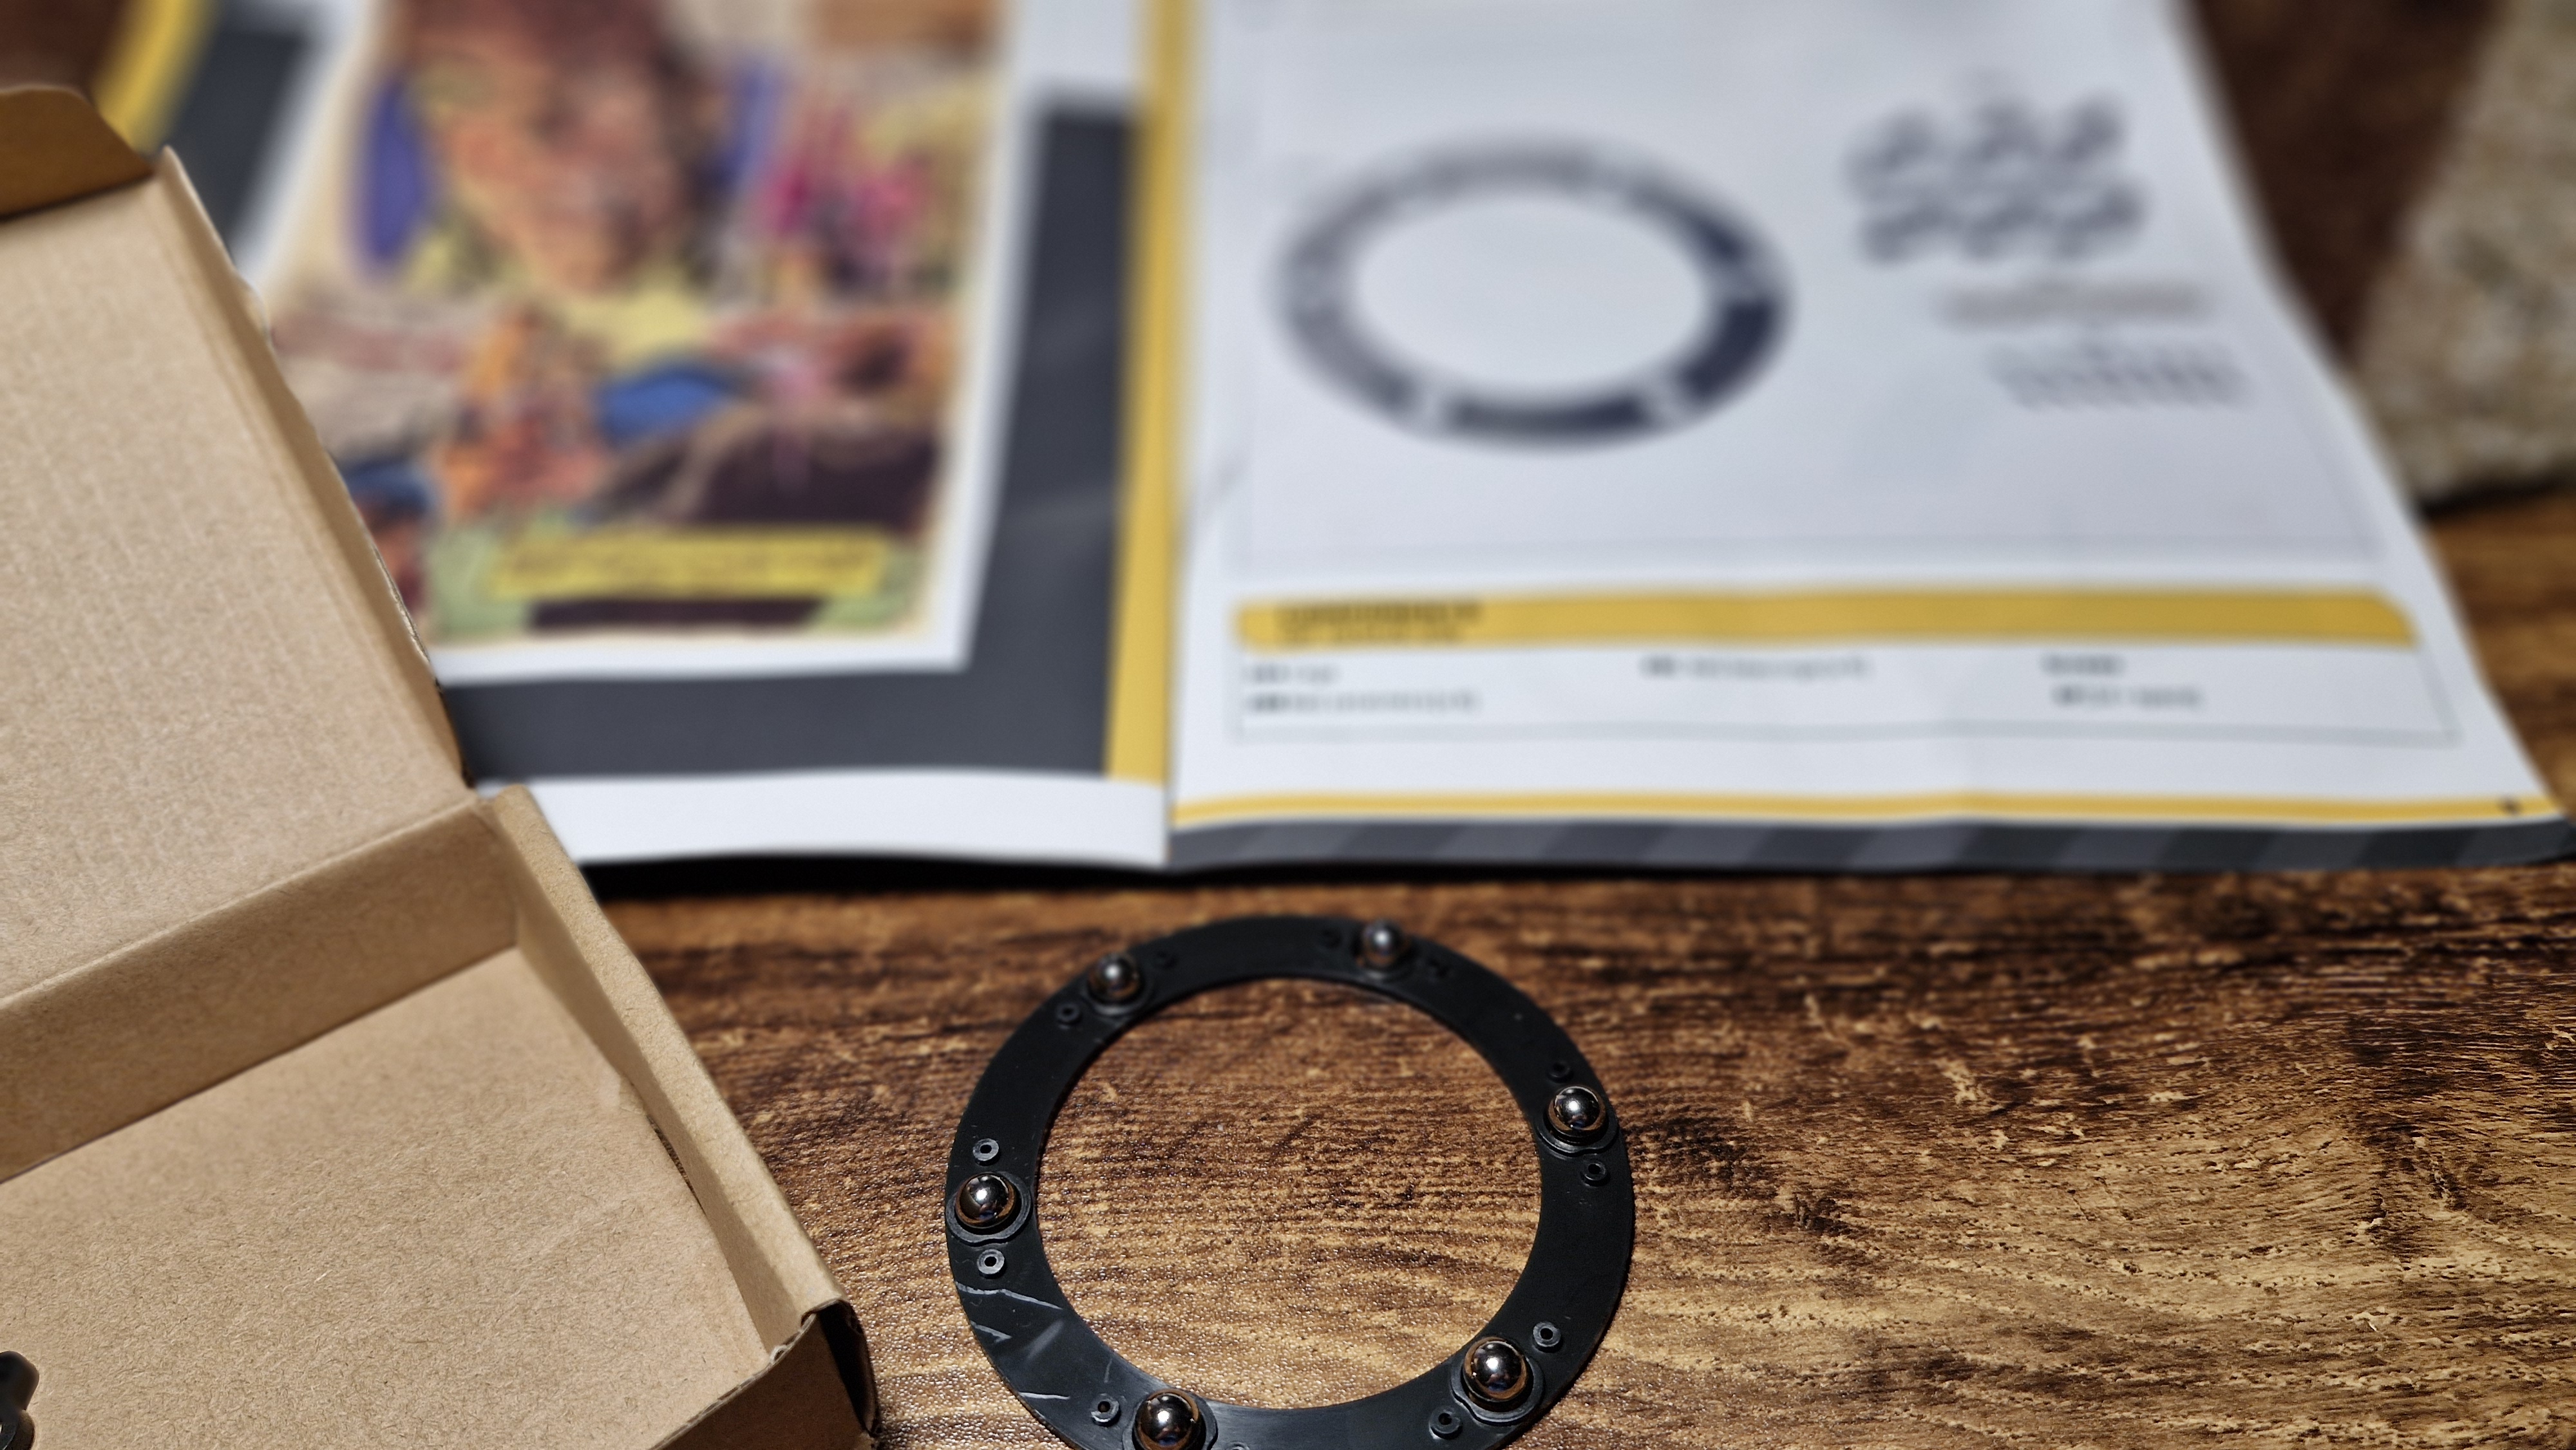
In terms of the Batmobile build, Issue #29 gives us part of the cage, ball bearings and ball retainers – this is simple to screw together ‘lazy Susan’ structure, which instructs you to literally place 6 ball bearings into the ‘cage’ and use two AP screws with the retainers to firmly attach them all together! This is a quick job, and links into Issue #30.
#30 purely adds the platform and caps to either side of the cage, to keep that lazy Susan theme going and while it’d be very useful for small snack dips, it’s a little too small unless you’re a mouse! For these two issues, they’re a quick sort out but you won’t need it yet – and I have a feeling, like so many of the smaller sections, we’ll come back to this later – exactly where I haven’t worked out yet – but watch this (well, a future) space!

Issues 31 through to Issue 40
Now, we’ve got something a little more exciting than quick assembles, and while it’s possible some of these could have been in less issues, it’s a lot more fun because you’re building a whole host of electronics and wiring, which eventually you’ll be able to test – and see how you’ve got on/if you’ve followed it all correctly.
While it’s a little less unusual for me to do an entire 9 issues in one, the reason I’ve put together the full sequence is because now we’ve hit the mighty electronics and essentially it’s a much more entertaining way to see it come together.
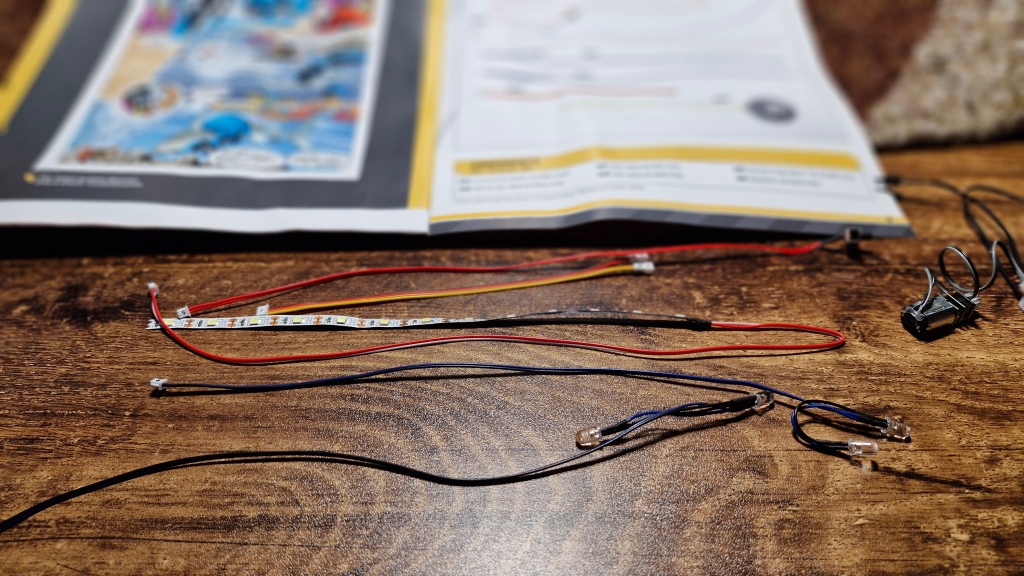
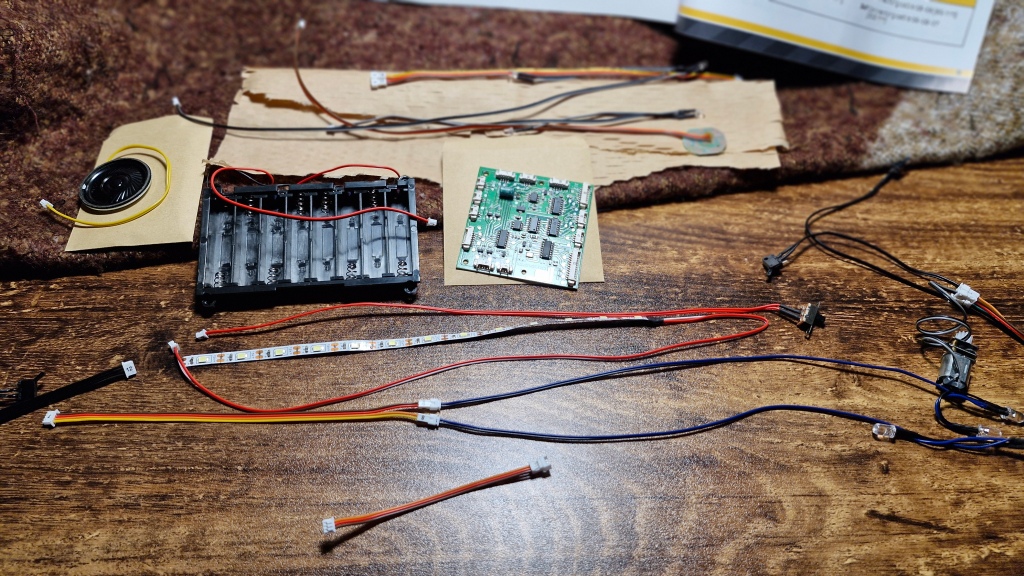
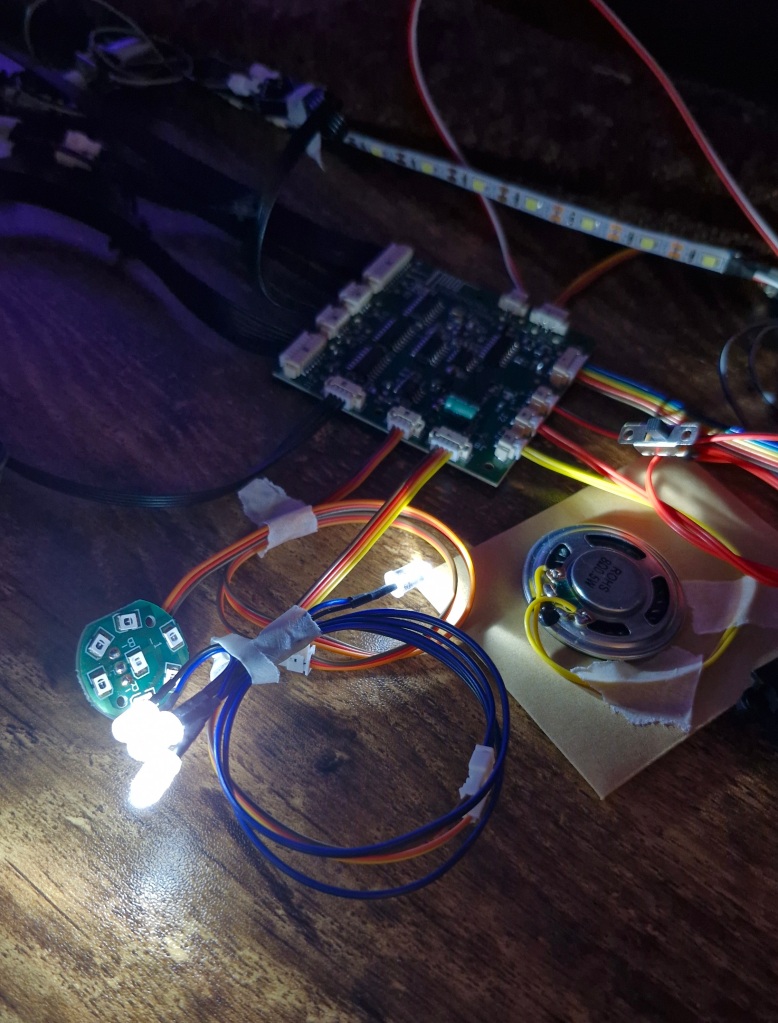
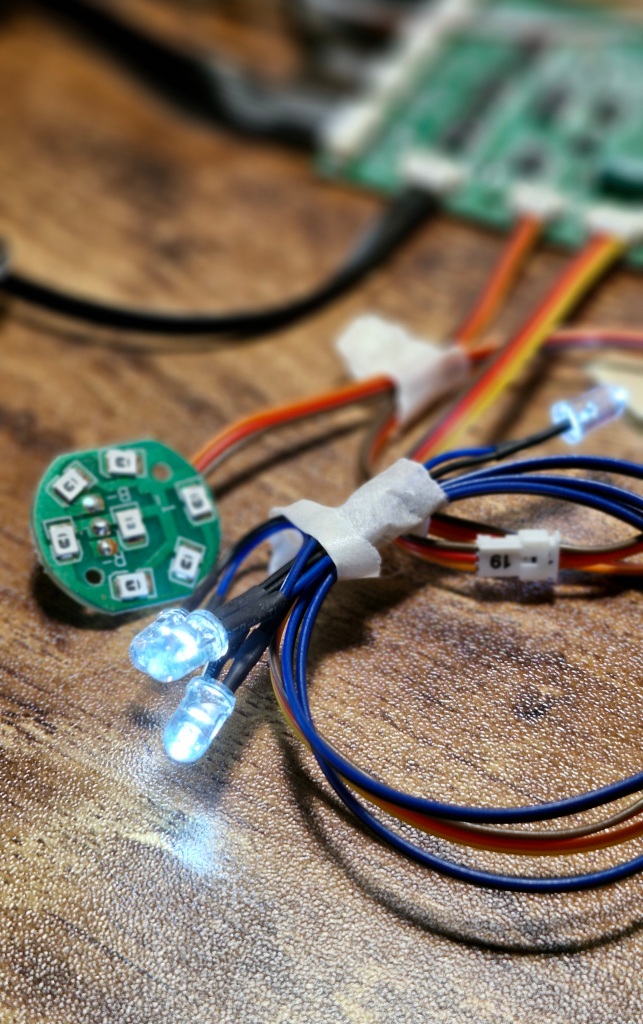
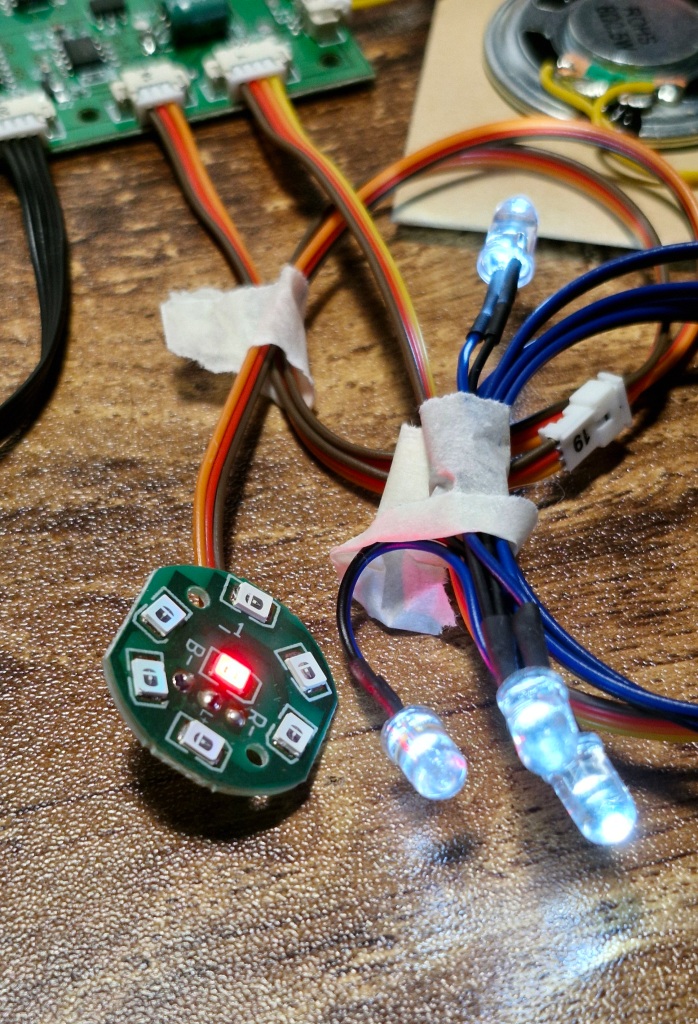
Overall, this was slowly sectioning together specified number-to-number wires, and gradually building that into what will become the ‘veins’ of the Tumbler, in order to give it light, sound and those types of fun things – and really bring it to life later on.
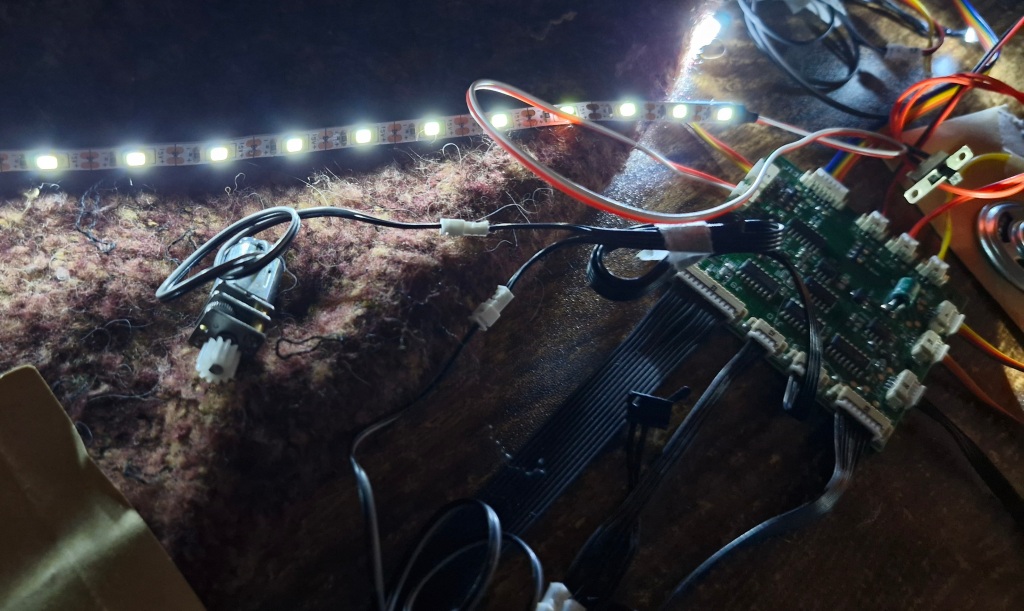
To make this series come to life, I’ll be providing a visual progression guide for the a large selection of wires and motors, and then you’ll get an idea of the huge map that will be gradually placed inside the chassis, and Tumbler to give it a whole extra lease of life once it’s completed. I have made the BTTF DeLorean but that was a lot more complex to push the wires into the car together, so I actually quite like what Hachette Partworks have done here – an almost deconstruction of a more complex need but it’s still fascinating, and getting them to work at the end of this section is rewarding – and exciting!
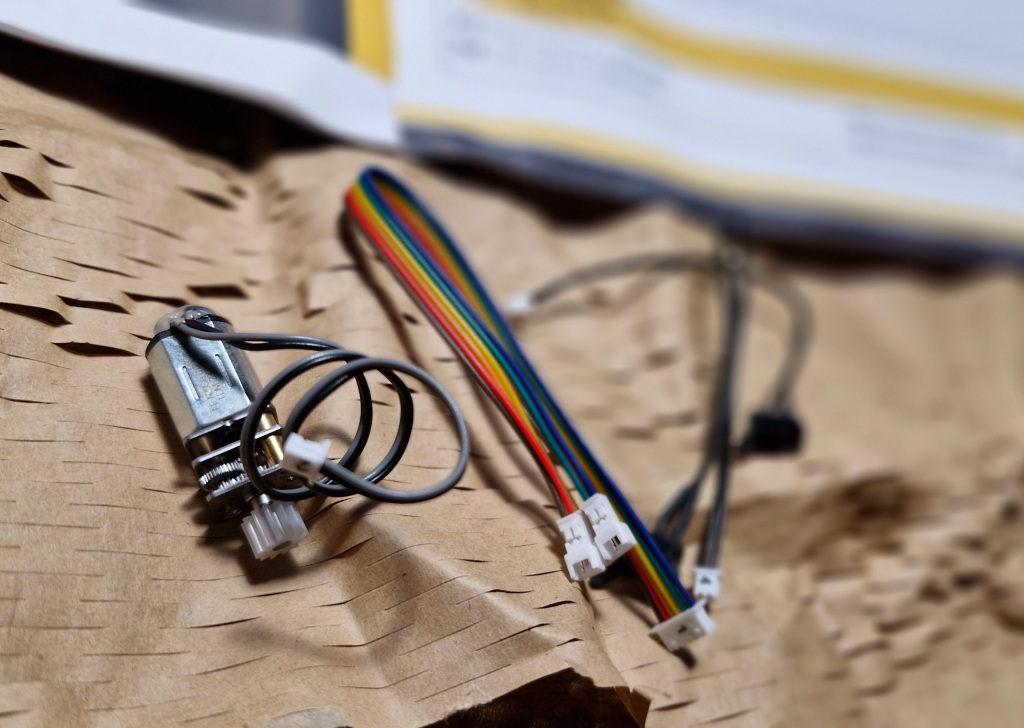
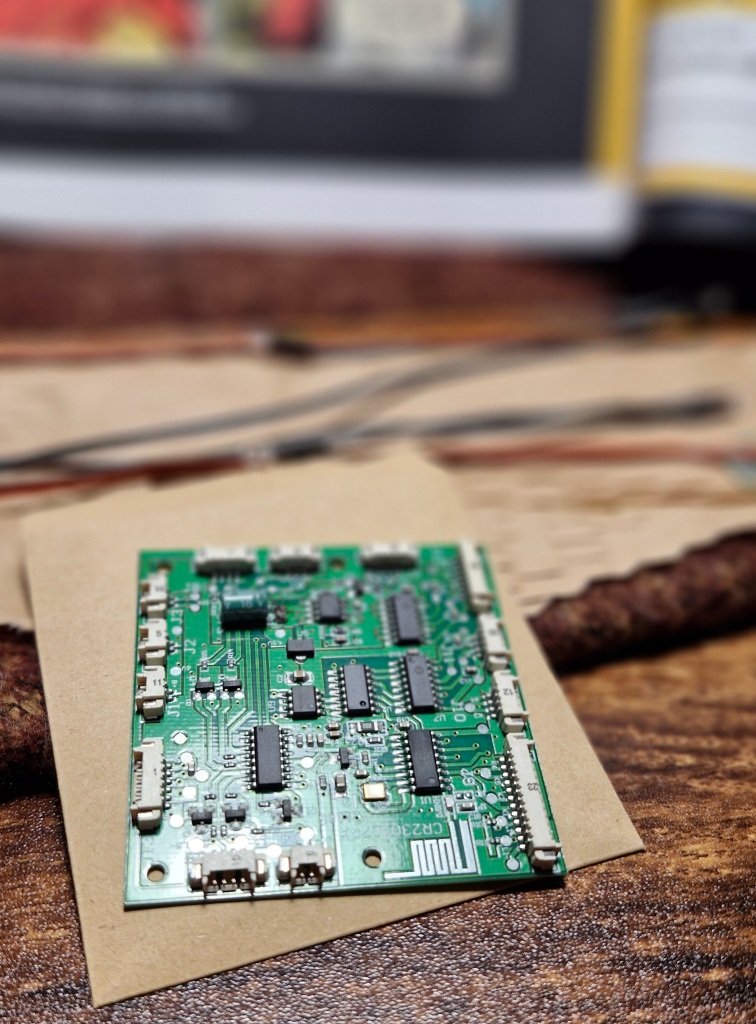
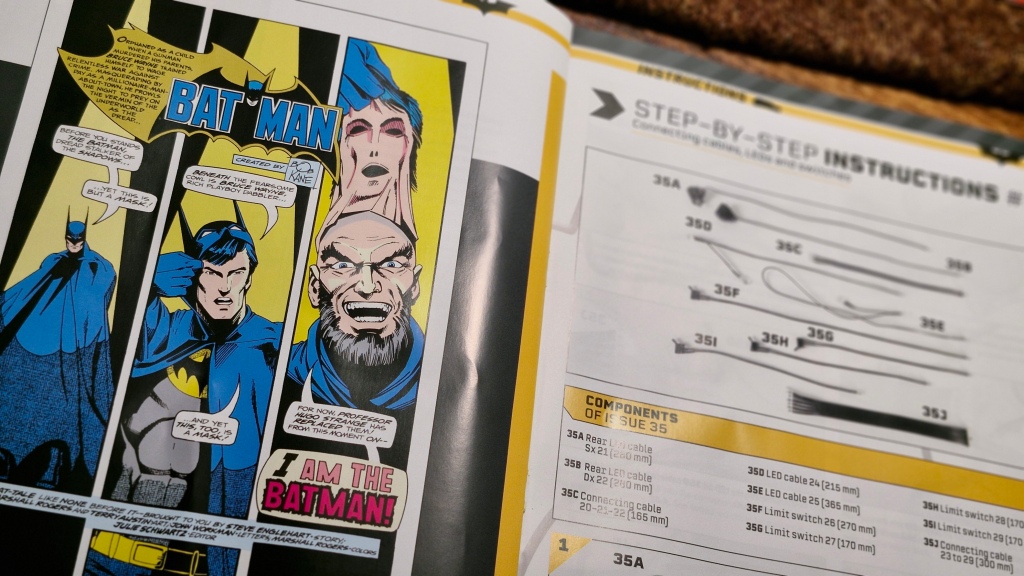
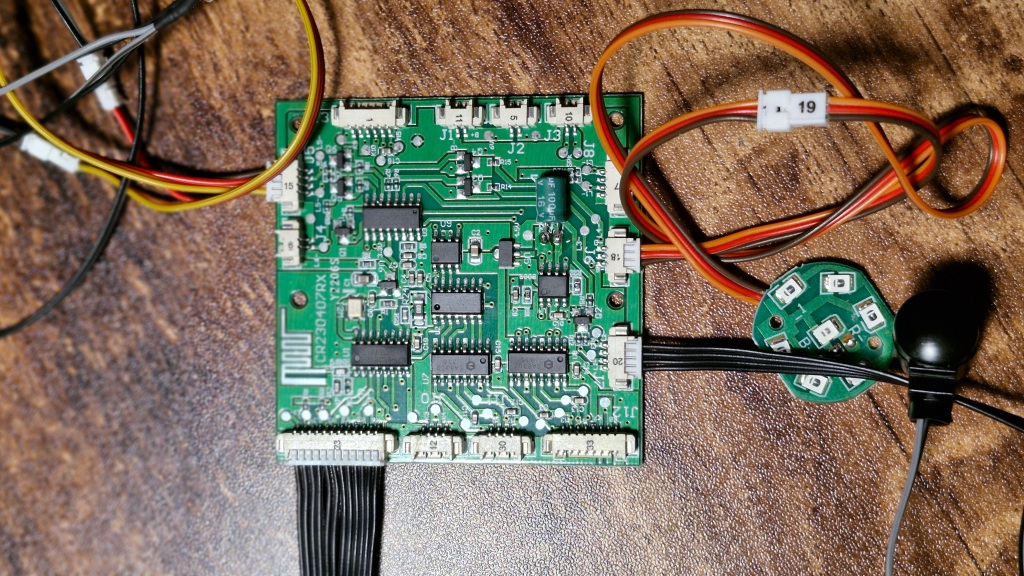
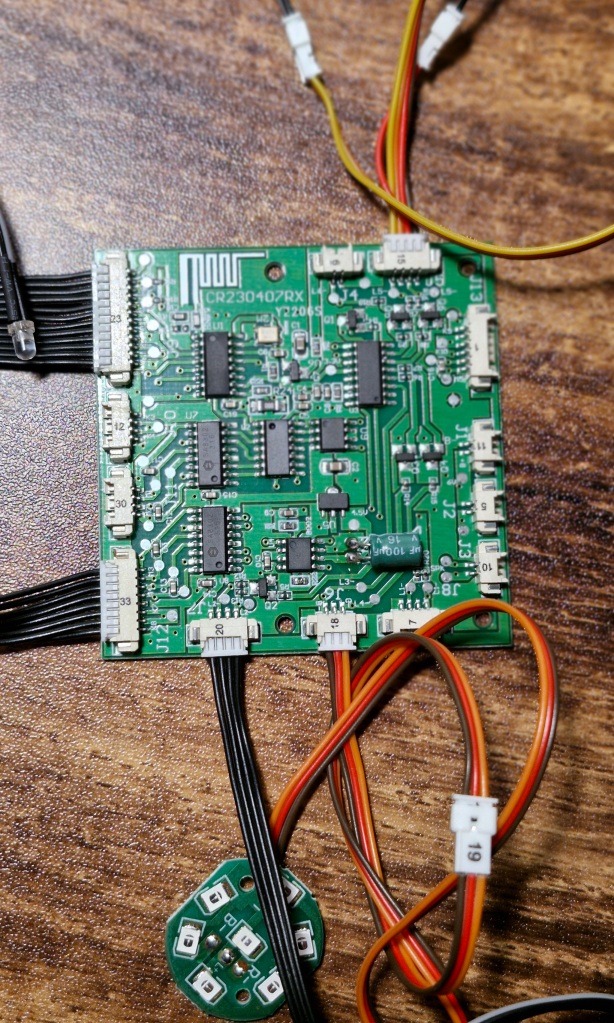
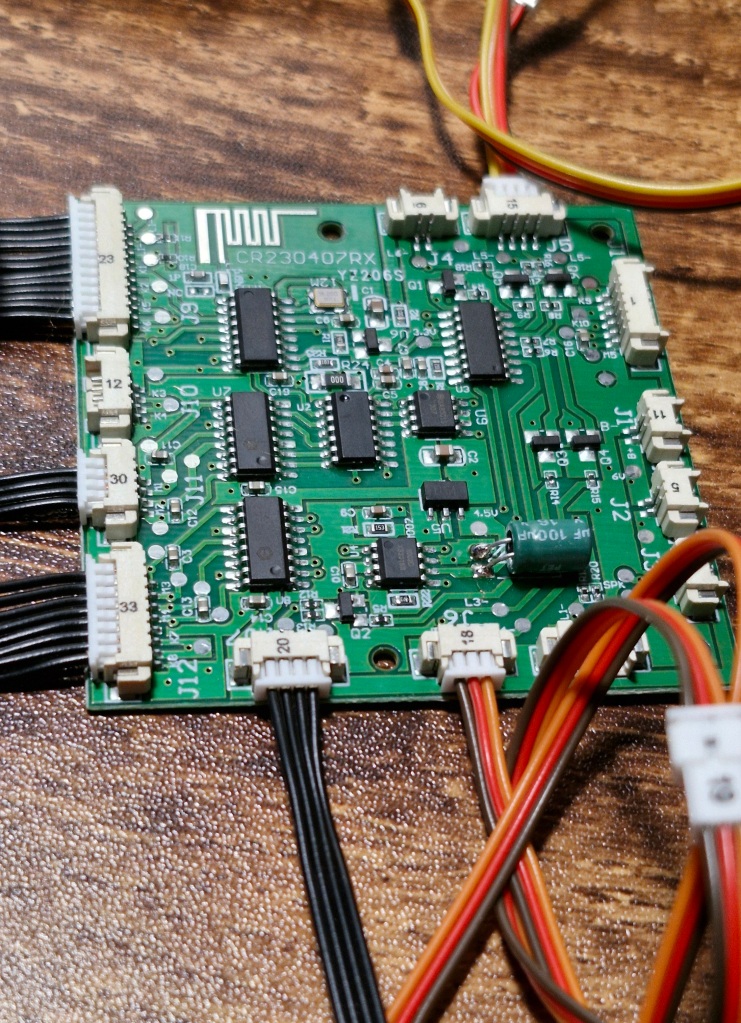
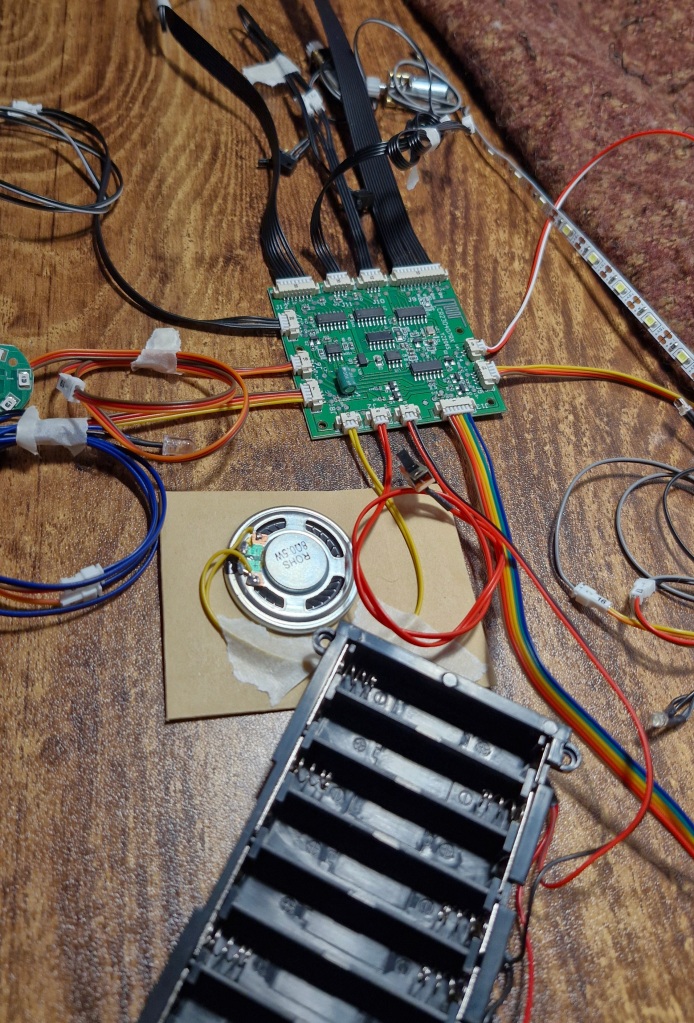
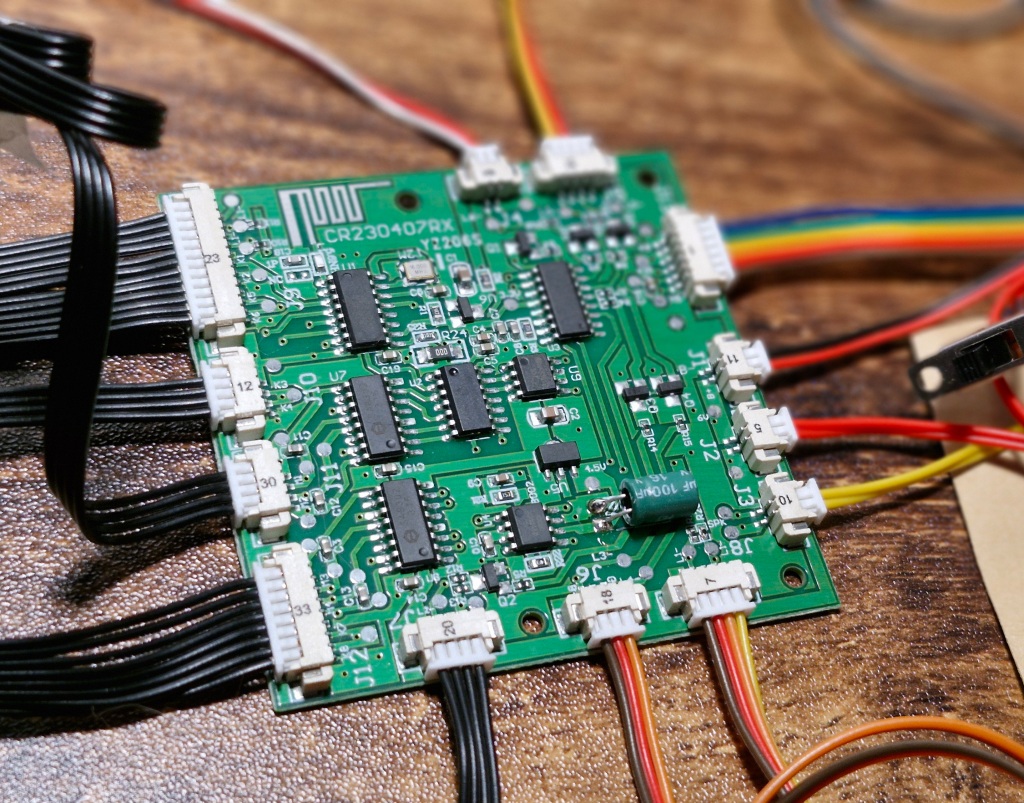
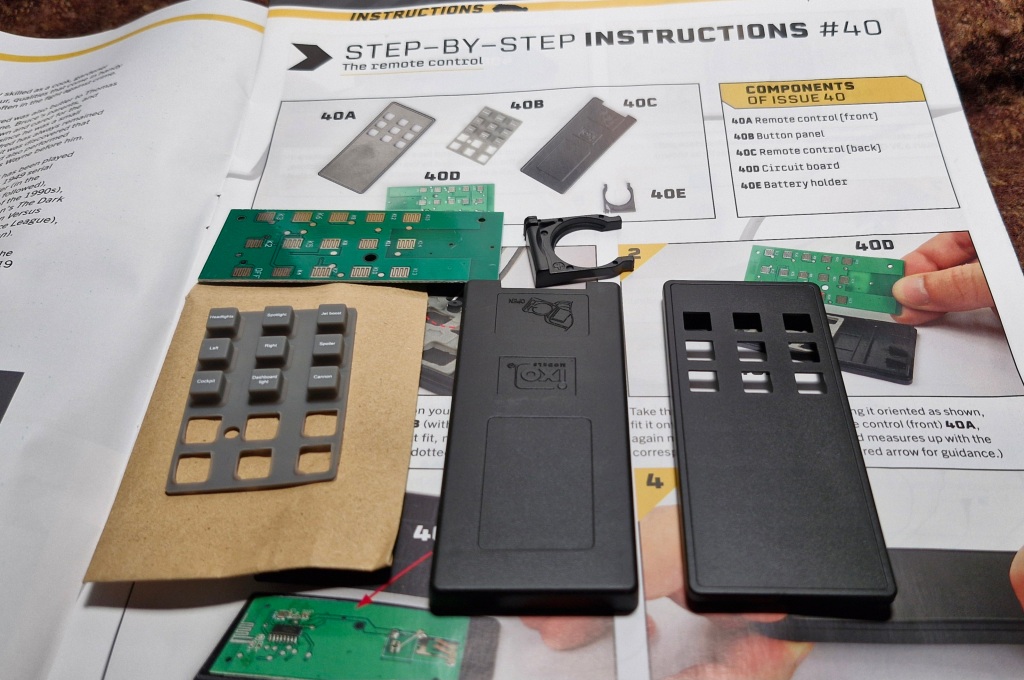
In Issue #40, you get a small remote control to construct but, in terms of wires and the purposes for them, these nine issues (in order) contain cables, limit switches and wires for: the steering motor; the speaker, LEDs, circuit breakers, and other connecting cables; the battery holder (for 8 AAA batteries – recommended rechargeable I’d suggest); the main control board, LEDs and further connecting cables; and then a whole further host of LEDs (including rear and side), loads more limit switches and connections cables; the first of many Aileron motors; the windshield motor; the vertical motor; the lifting motors, and then that remote control.
You’ll see in the pictures below, this is a series of coloured and numbered wires to click but it does look pretty darn impressive to eventually go inside the Tumbler beast!


![Unquiet Guests review – Edited by Dan Coxon [Dead Ink Books]](https://criticalpopcorn.com/wp-content/uploads/2025/10/ug-reddit-ad-e1761690427755.jpg?w=895)

![Martyrs 4K UHD review: Dir. Pascal Laugier [Masters Of Cinema]](https://criticalpopcorn.com/wp-content/uploads/2025/10/image-1-e1761586395456.png?w=895)


![Why I Love… Steve Martin’s Roxanne [1987]](https://criticalpopcorn.com/wp-content/uploads/2016/11/roxanne.jpg?w=460)


Post your thoughts