
We’ve all seen those ads that encourage you to ‘Build Your Own [insert awesome thing here]‘ and it’s not often I take up the challenge but, as well as huge love for Back to the Future, building my own DeLorean was too good an opportunity to miss. With Parts 1-44 already done, we move on with the next 16 [sixteen!] in one handy summary post.
So it has been a while, let’s blame Christmas and January, but I’ve been gradually getting on with this build and pleased to say we’ve taken a huge step forward plus we’ve got lights… and they work! I’ve kept parts 44-59 together as one post because they really show how far it moves forward. Also having a break, and then doing a load of work, also gives you a good perspective of such a large, long-term build. In the early days I think I underestimated the following though: 1 – How specific the detail would become and 2 – How addicted I’d become getting it right and 3 – Learning so much as a I go along and also the confidence to adjust parts or fittings if they don’t quite feel right or ‘flush’.

As a side note, I’ve been taking the advice of fellow constructors, who are part of a #BTTFBuild group on Facebook, and it’s interesting to see how specific a lot of people can be. They also highlight the occasional disappointment in quality parts, but because everyone is spending their hard-earned money, so I think that’s fair enough. It’s also been handy for when I felt a little unsure of what to do with a part I’m finding difficult. It’s been an absolute bonus occasionally and so if you’re in need of help, then get in touch with me and I can invite you. It has saved me so many worries and the experts on there have been beyond helpful, useful and friendly.
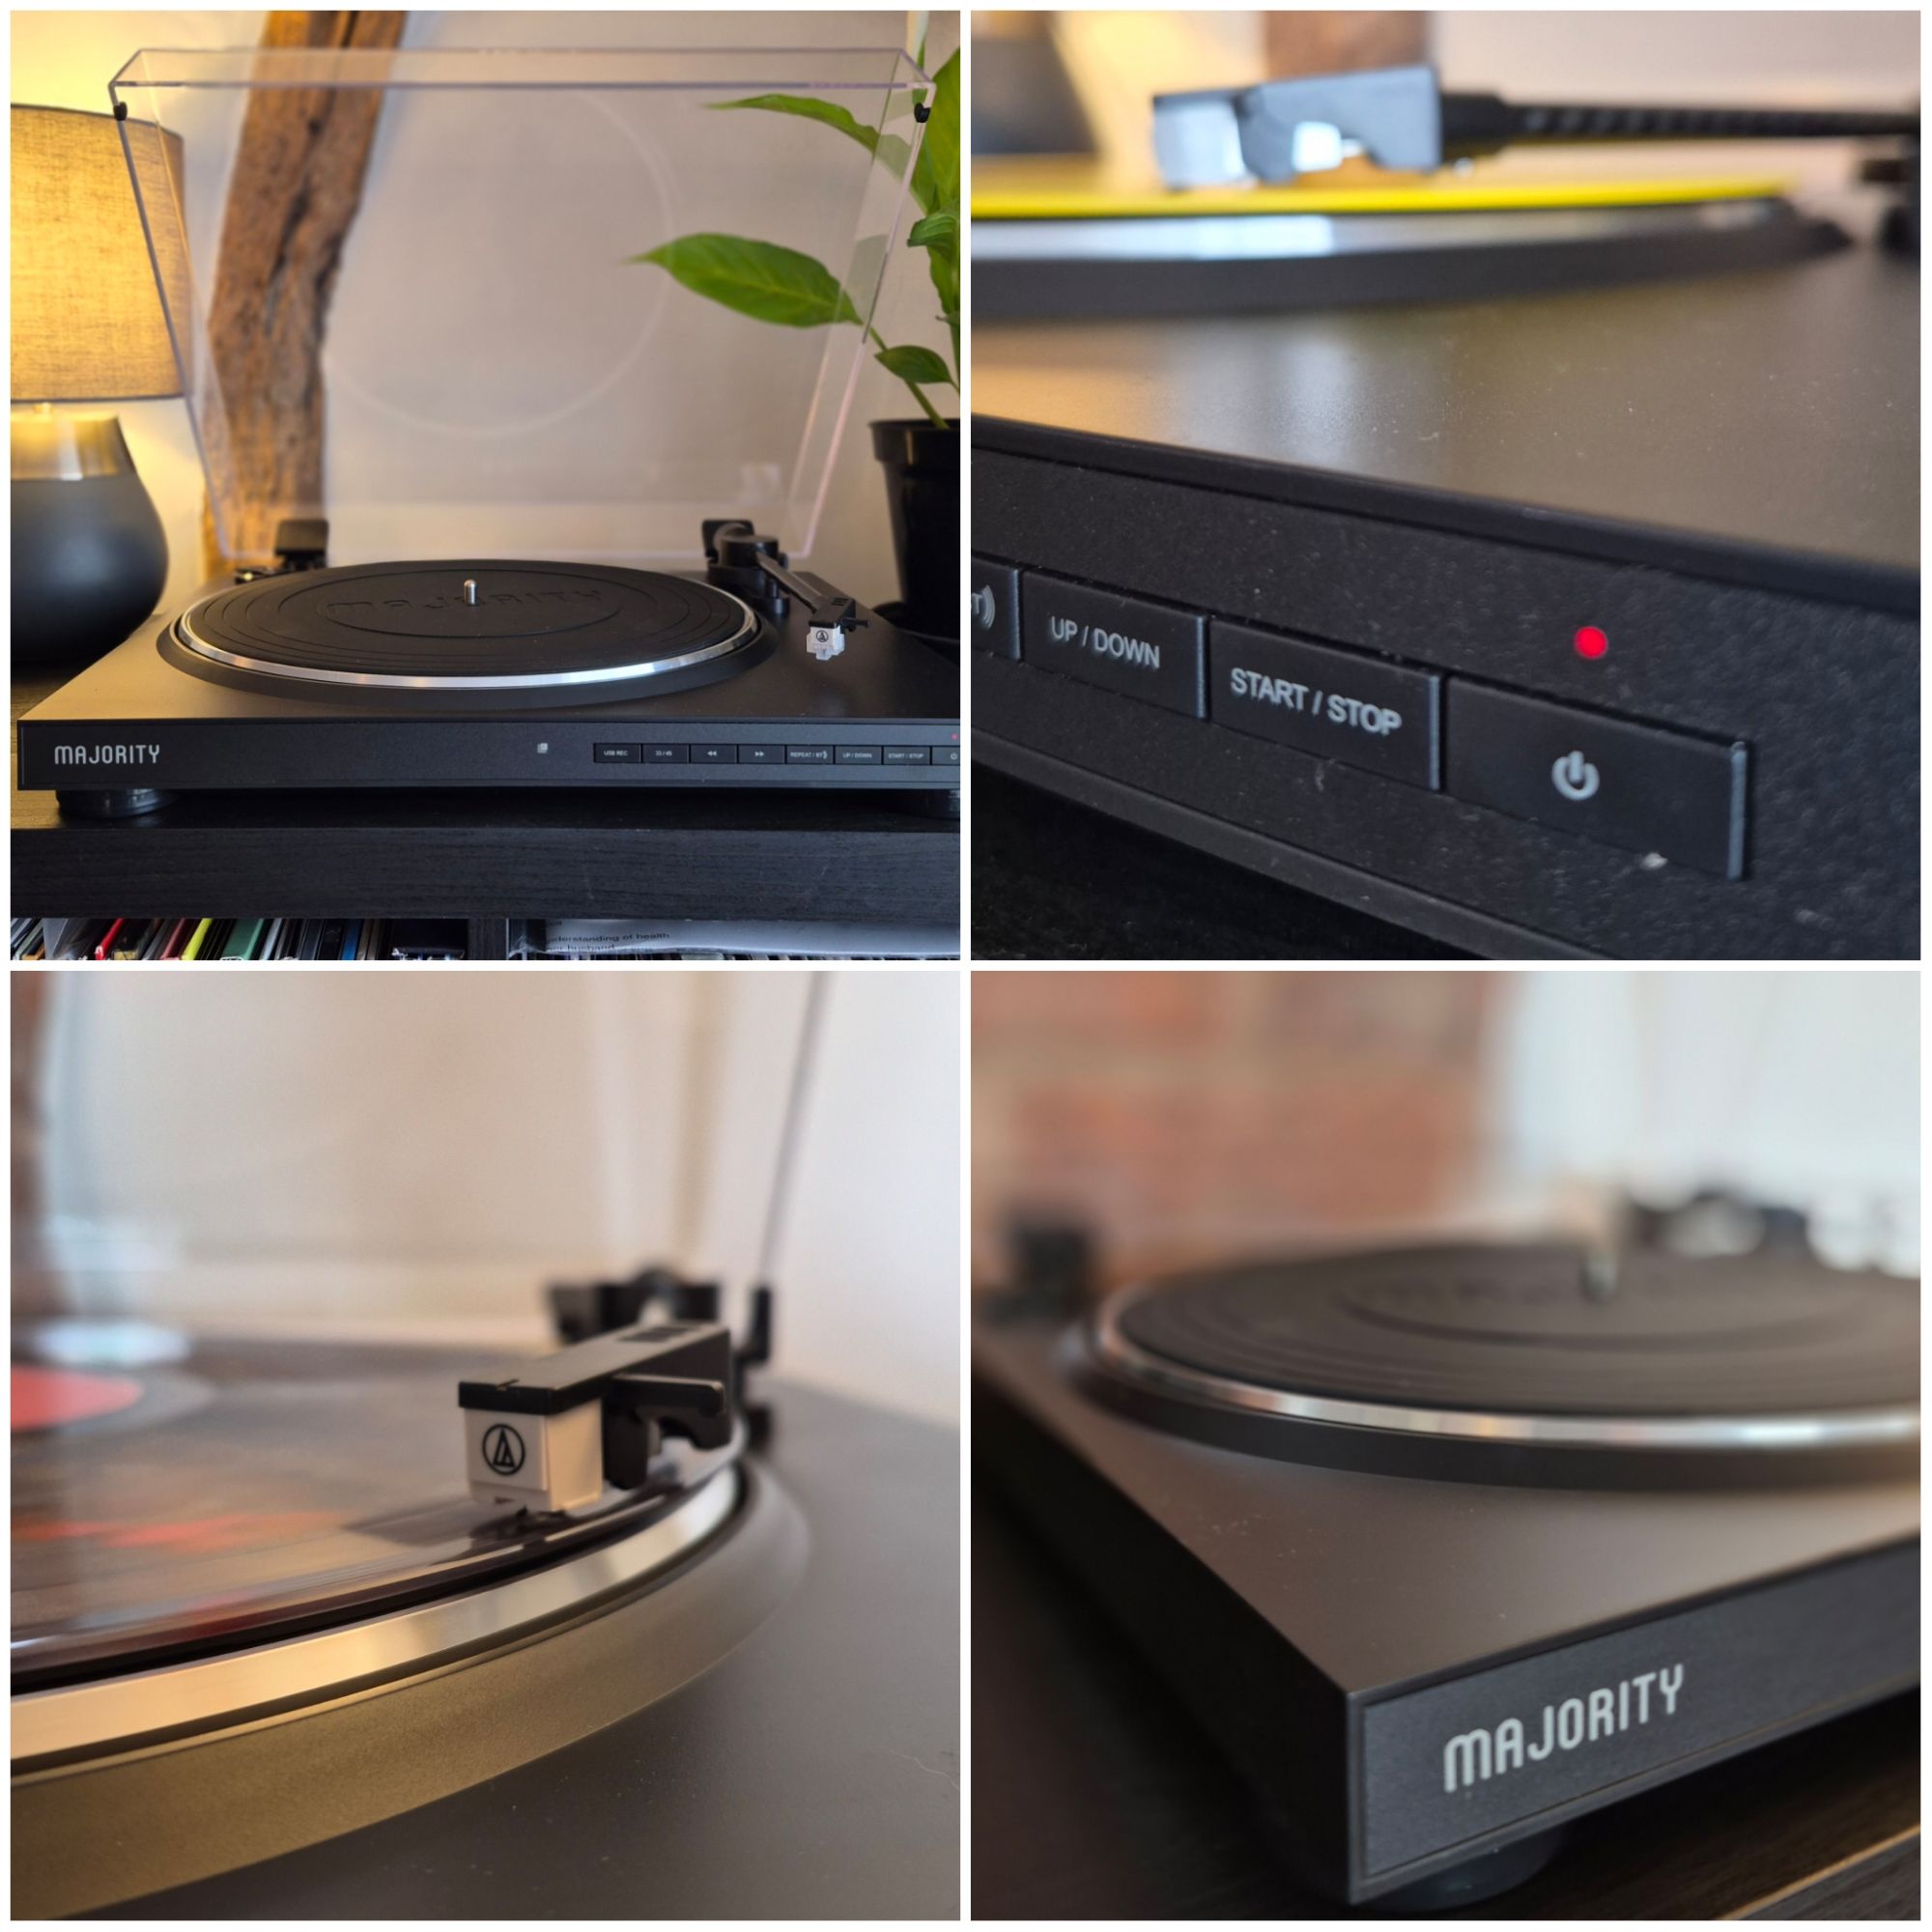
As a general thought on these sections, I’d say that the wiring might drive you a little mad, and occasionally your hands will falter (and patience) but standing back from how far we’ve come is really something to celebrate. I successfully managed to wire 23 different parts into a circuit and the lights WORK. Now, not everyone will have this success immediately but I’m genuinely quite pleased at the achievement. Sure, you’re following guides to get there but it’s important to find a good pace to building, and getting it right first time.

Proper screwdrivers are vital, as are tweezers of various forms, because the fiddly wires and connections test your calmness but, in time, I got there, alongside a few swear words and ‘walking away’ from the desk every now and then – which in retrospect is actually a little hilarious. So far, so good, and while some things still require adjustment, it’s ultimately fun and unexpectedly gratifying.
By the way, if you’re having an issue with Part 59, either with the steering or lights, I highly recommend watching this video on Horlick’s channel on YouTube and, in the meantime, here’s a gallery for some summarising of the build to this point:


![Book Review: Chasing Aliens – Faith and Conspiracy in the UFO Heartlands by Daniel Lavelle [Viking Penguin]](https://criticalpopcorn.com/wp-content/uploads/2026/06/HKPUiIuW0AArfXJ.png)


![Wes Anderson: The Archives at the Design Museum [Review]](https://criticalpopcorn.com/wp-content/uploads/2026/05/wp-17789380624321255624204405612374.jpg)


Leave a Reply